Workflow in Nextcloud (recommended)
Switch your workspace to Nextcloud (Checkout) – default is in GitLab
By default your project is created in GitLab. Before switching to Nextcloud, make sure no one is working on the GitLab side of your project.
- In fredato, go to the "Projects" tab.
- Click on the three dots to the left of the project you want to switch to Nextcloud.
- Then click on "Checkout to Nextcloud".

- This will open a dialog, which tells you that your project will be copied now and that it might take some time depending on the size of the project. Confirm it.

- This will close the dialog and show a small animated notification below the project name telling you the operation is in progress. Once it is completed successfully, you can progress to work on the Nextcloud side.
Upload your files in Nextcloud
- In fredato, click on the "Nextcloud"-link. You will see the directory of your project. If it is a new project, this is the structure of the template you selected.
- Please navigate through the folders to the location where you want to upload the file.
- Click on the plus button right above the list of files.
- You will see a file selection dialog. Here you can select files up to a size of 250 GB. Once you have selected the files and confirmed the file dialog, you will see a progress bar next to the place of the "plus" symbol. DON’T close the browser window until the upload is finished because otherwise the upload might be interrupted.
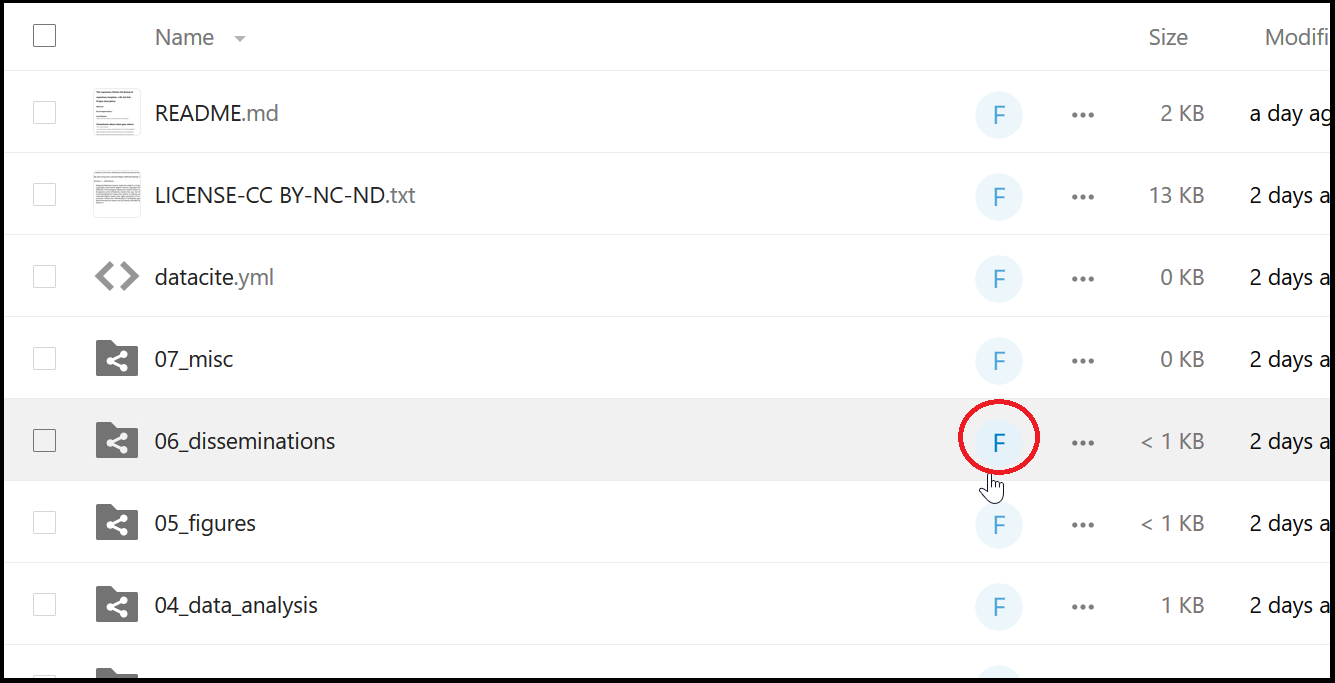
Track the activity of a folder within your project in Nextcloud
All folders within a project in Nextcloud generated via fredato are signed by a button "F" on the right. Click on "F" to track the activities in the folder or to open the comment section.